Custom Email domain
First thing you want to do is decide on your custom domain. If you already send email and do business from example.com, where your email would look like the following format: info@example.com, we suggest you don't try to send from the same domain. Choose a subdomain, that can be anything you want. Having a domain such as mail.example.com would then have email sent from info@mail.example.com Once you have the domain chosen, navigate to your Account Settings in Notifi Admin Portal.
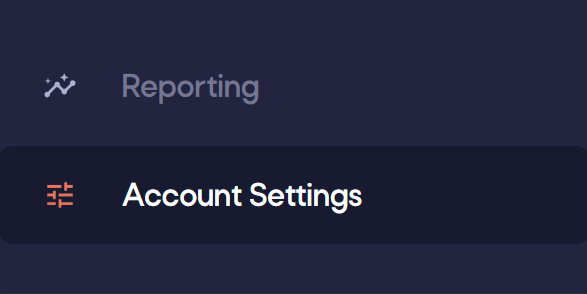
Click Account Settings
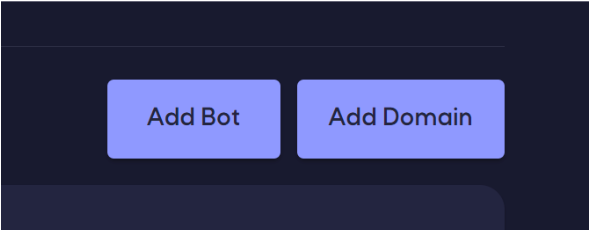
Click Add Domain
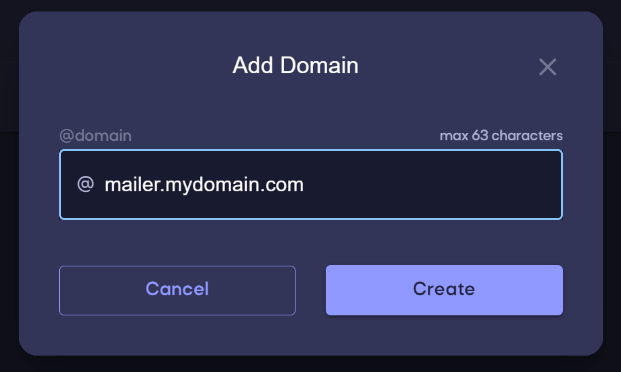
Enter your domain
Set your DNS records
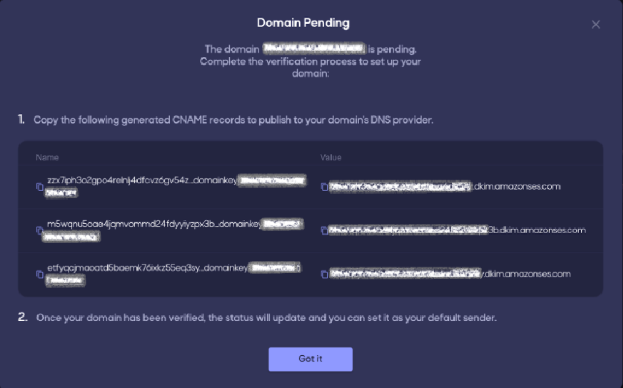
After 72 hours, the domain will go into a failed state, and you’ll need to delete and start over.
The following table includes links to the documentation for a few widely used DNS providers. This list isn't exhaustive and doesn't signify endorsement; likewise, if your DNS provider isn't listed, you’ll need to find documentation to set CNAME records.
| DNS/Hosting provider | Documentation link |
|---|---|
| GoDaddy | Add a CNAME record (external link) |
| DreamHost | How do I add custom DNS records? (external link) |
| Cloudflare | Managing DNS records in Cloudflare (external link) |
| HostGator | Manage DNS Records with HostGator/eNom (external link) |
| Namecheap | How do I add TXT/SPF/DKIM/DMARC records for my domain? (external link) |
| Names.co.uk | Changing your domains DNS Settings (external link) |
| Wix | Adding or Updating CNAME Records in Your Wix Account (external link) |