Custom Discord bot
In order to use your own Discord bot, you will need to set up your own Discord bot and Discord application client.
We also recommend setting up your own verification page, although it is possible to use a Notifi branded verification page. See here for the Notifi verification page.
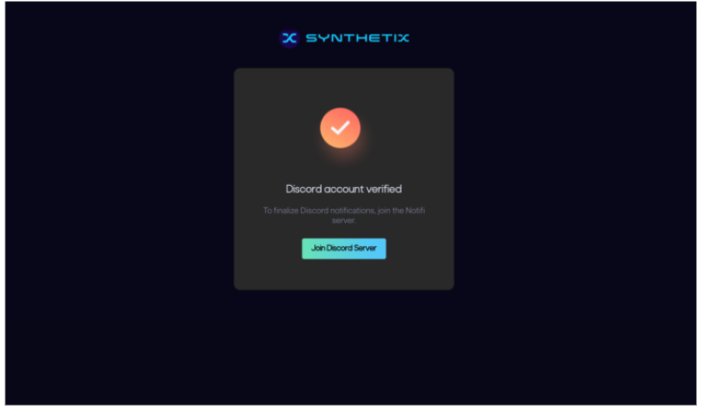
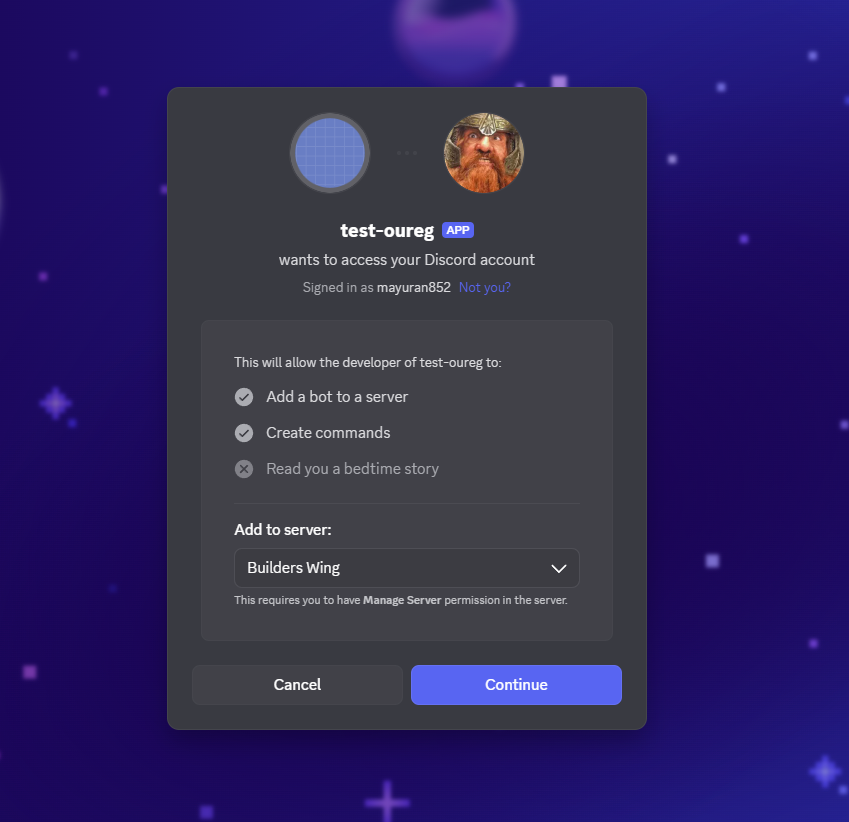
The verification page is necessary as part of OAuth2 to ensure that the user owns the Discord account and will look something like the screenshots below.
For setting up your verification page, see here
Discord Bot Configuration
There are five pieces of information we will need in order to set up your custom Discord bot:
- Discord Guild Id (the server id that your Discord bot will reside in. Internally, Discord calls servers guilds)
- Discord Client Id
- Discord Client Secret
- Bot Token
- Redirect URL (Verification Page Url)
Visit Admin.notifi.network/settings and select Add Bot to register your bot to your respective tenant.
How to set up Discord bot
1. Creating A Discord Bot
Visit Discord Applications
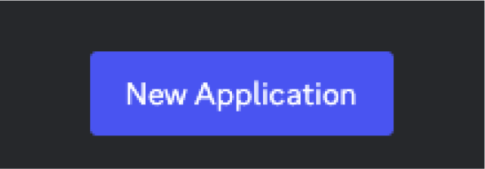
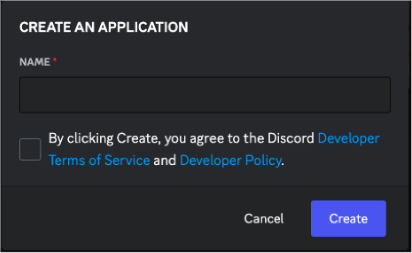
Create a new application:
Enter a Bot Name (This will be the name of your Bot in the channel). Additionally you can configure your description, profile picture and Name.
2. Register Your Interactions Url, Privacy Policy and Terms of Service
Below are the respective links required for configuration. Copy and paste your Client Id into the Url Parameter.
-
Terms of Service Url: https://notifi.network/terms
-
Privacy Policy: https://notifi.network/privacy
-
Interactions Url: https://dpapi.prd.notifi.network/hooks/DiscordCallback/**{Your Client Id}**
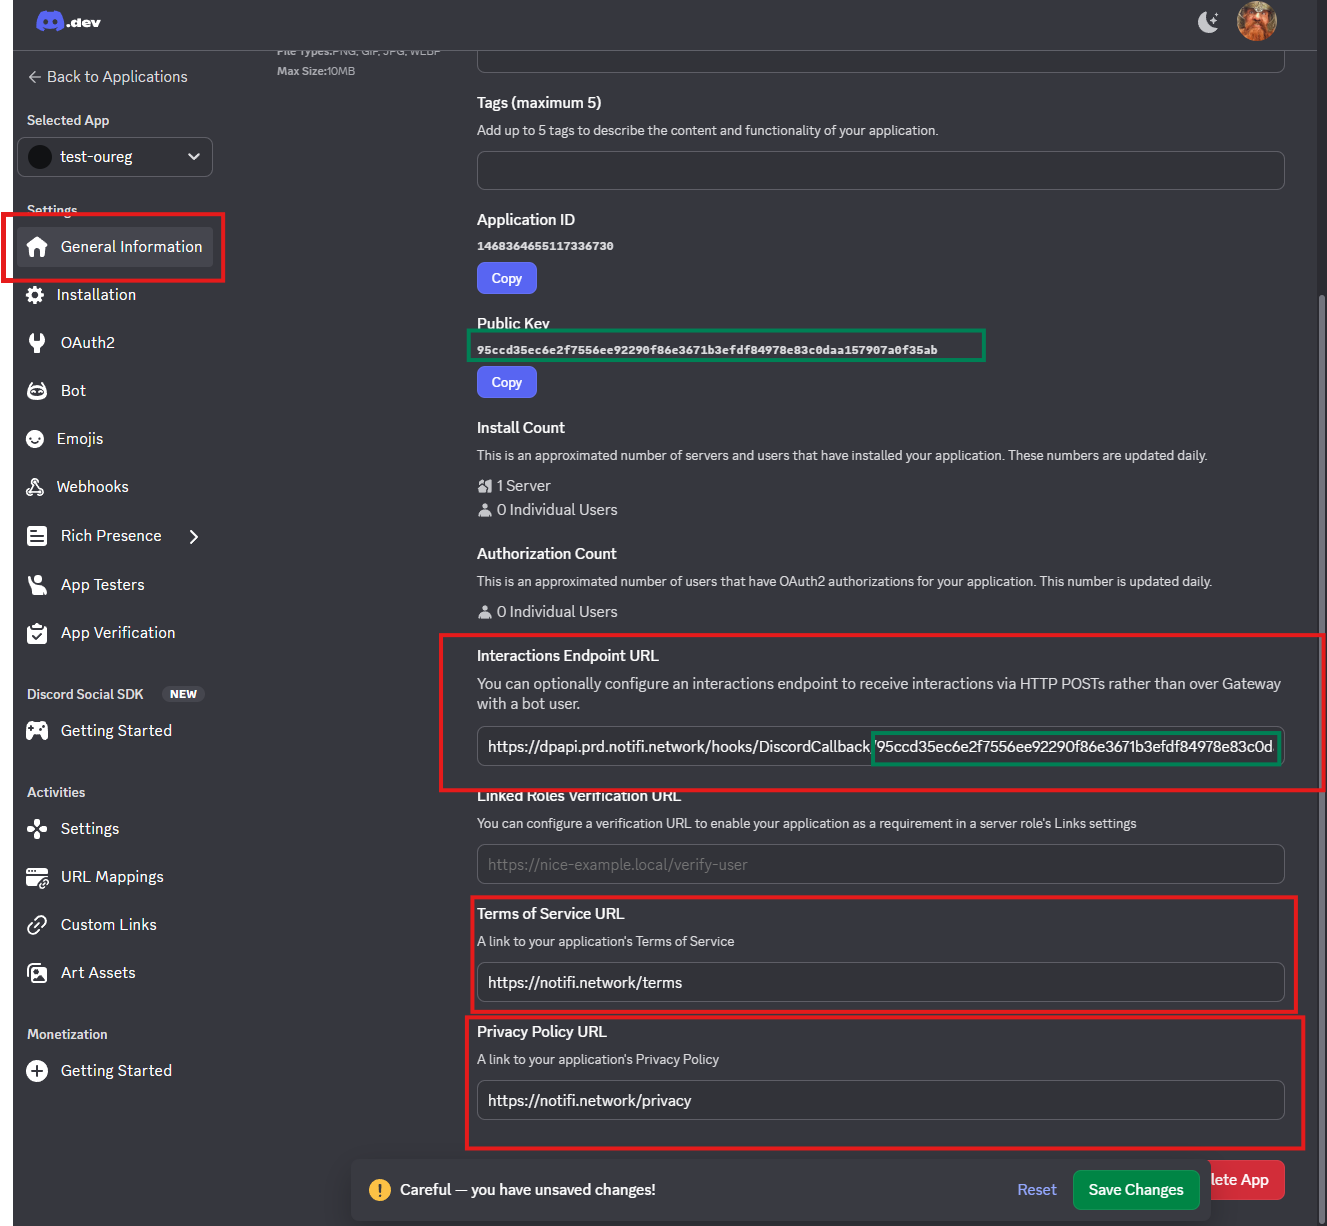
Ensure you save your changes. Discord will respond when you correctly verify the interactions URL.
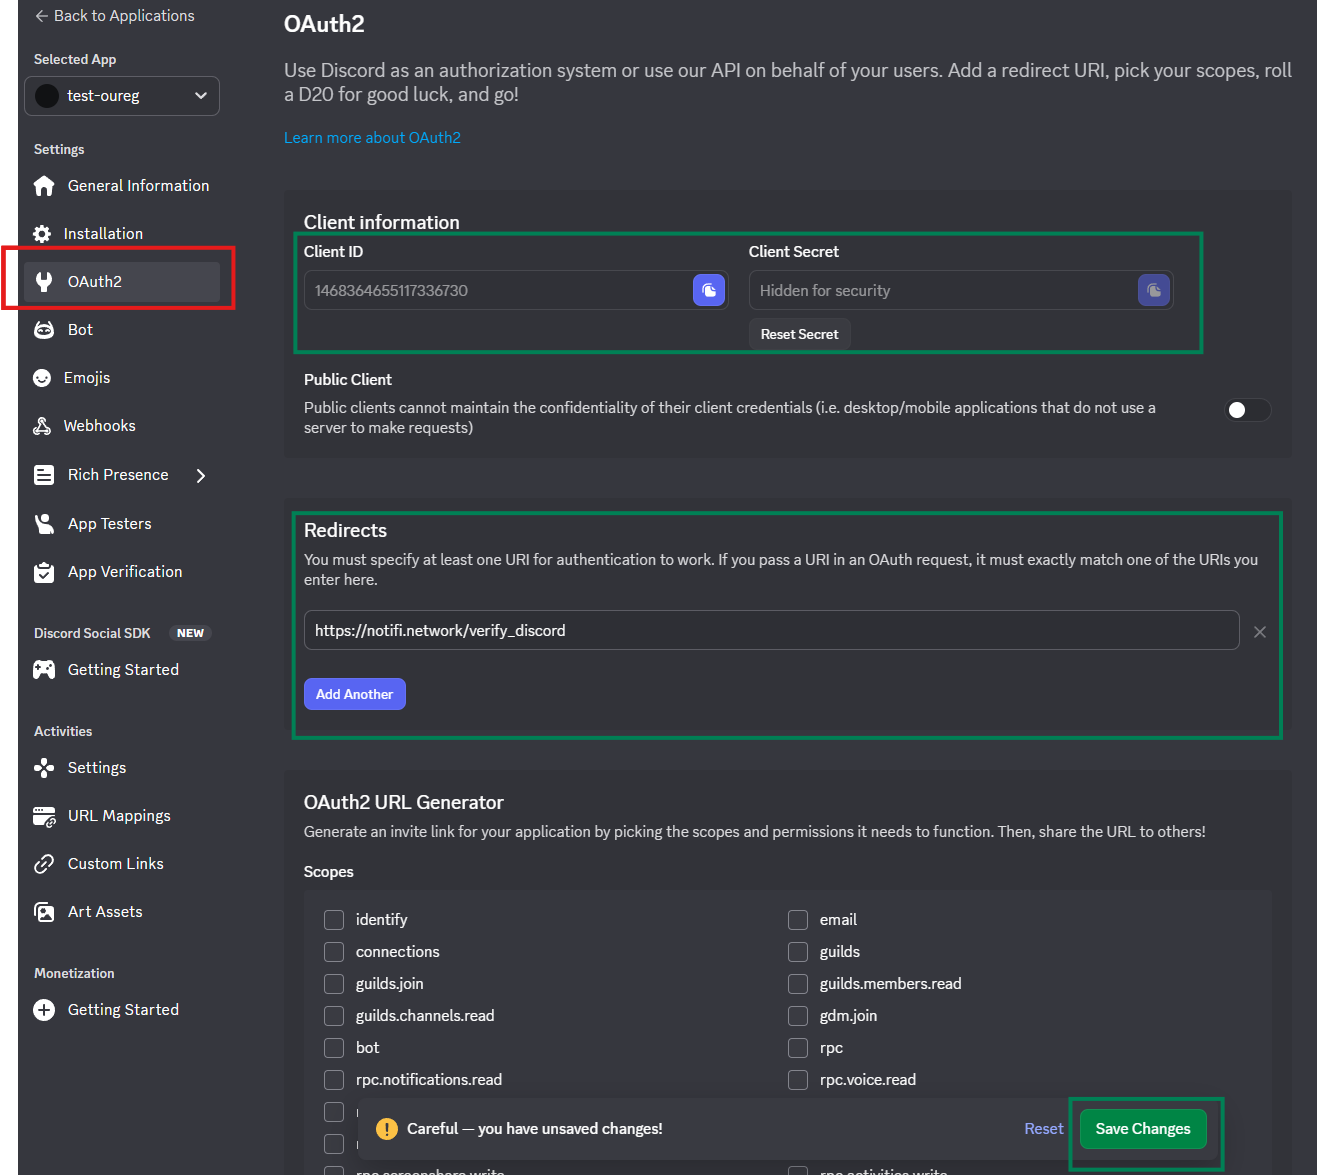
3. Oauth Configuration
Configure your redirect URl, and copy the relevant Client Id and Client Secret. Ensure you save your changes.
3. Add Your Bot to your Server
3.1 Copy your Bot Token

This token will be used to send messages on the bot’s behalf. Don’t reset the token after sending it to Notifi.
3.2 Add your Bot to your server
Generate your OAuth Url by navigating back to the OAuth Tab
Select the following permissions for your bot. This is required for Discord in order for Notifi to programmatically send messages.
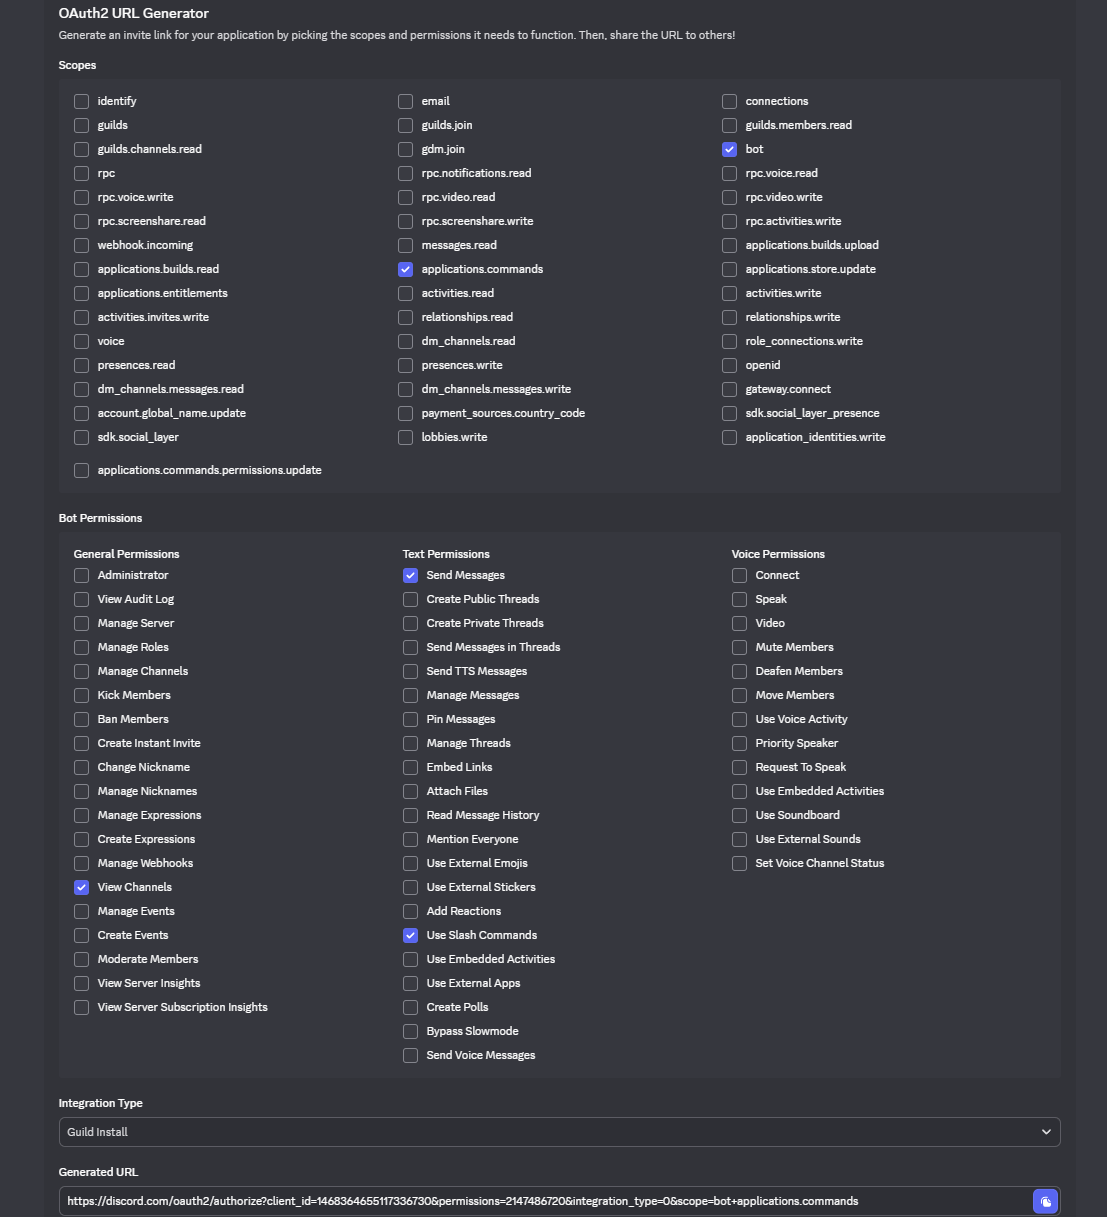
Enter the link into your browser URL to add the Bot to your respective server.
If you intend to use Open Registration, you are not required to add the Bot into your server.
Great! You're all set up.
Creating a Verification page
For a verification page, set up a web page that is able take the url query paramaters and send them to Notifi’s backend.
In this example, we will be using Notifi’s landing page for Discord verification: https://notifi.network/verify_discord/?code=8CHr7zrAnMCl0RjjdimsApop3M2SUT&state=cac809feb82147a9838ea49dddd9d6dd
The code and state will be taken out of the query parameter from the url. In this case, the code is 8CHr7zrAnMCl0RjjdimsApop3M2SUT and the state is cac809feb82147a9838ea49dddd9d6dd.
The page will then construct the following GraphQL post request using the above information and send it to https://api.notifi.network/gql.
mutation verifyDiscordTarget($input: VerifyDiscordTargetInput!){
  verifyDiscordTarget(verifyDiscordTargetInput: $input){
    name,
    id,
    username,
    discordAccountId,
  }
}

{
  "input": {
    "discordTargetId": "cac809feb82147a9838ea49dddd9d6dd",
    "code": "8CHr7zrAnMCl0RjjdimsApop3M2SUT",
    "redirectUri": ""
  }
}
Note: the state in the url parameters map to discordTargetId in the request.